Shopify Storefront data and cart logic is bound to your Webflow elements through Shopyflow attributes. Connecting your Webflow site to Shopify is done by adding custom attributes to your Webflow elements.
Yet, you are not required to type or edit attributes manually. Shopyflow provides you with the pre-configured components needed to create your store, as copyable Webflow elements right in Webflow designer.
All the copyable Shopyflow Components are native editable Webflow elements. There is no layout or styling limitation on any element.
In the below image hover your mouse on the hotspots to see all the required Shopyflow attributes to build a product page like this in Webflow

Adding products to the Headless sales channel gives Shopyflow access to your product catalog. This is essential, as only products enabled on this channel will be accessible to Shopyflow.
Follow these steps to add all your products to the headless sales channel.
① Go to Shopify Admin > Products. Select all your products and click Bulk edit.
② Click Columns on the top right corner, find your headless channel and check it. Your headless channel name might be different if you named it something else when installing the Shopify Headless App.

③ Once the headless column is added to the table, go over each product and add it to the headless sales channel. In our case, headless channel is called Shopyflow.
④ Click Save on the right top corner.

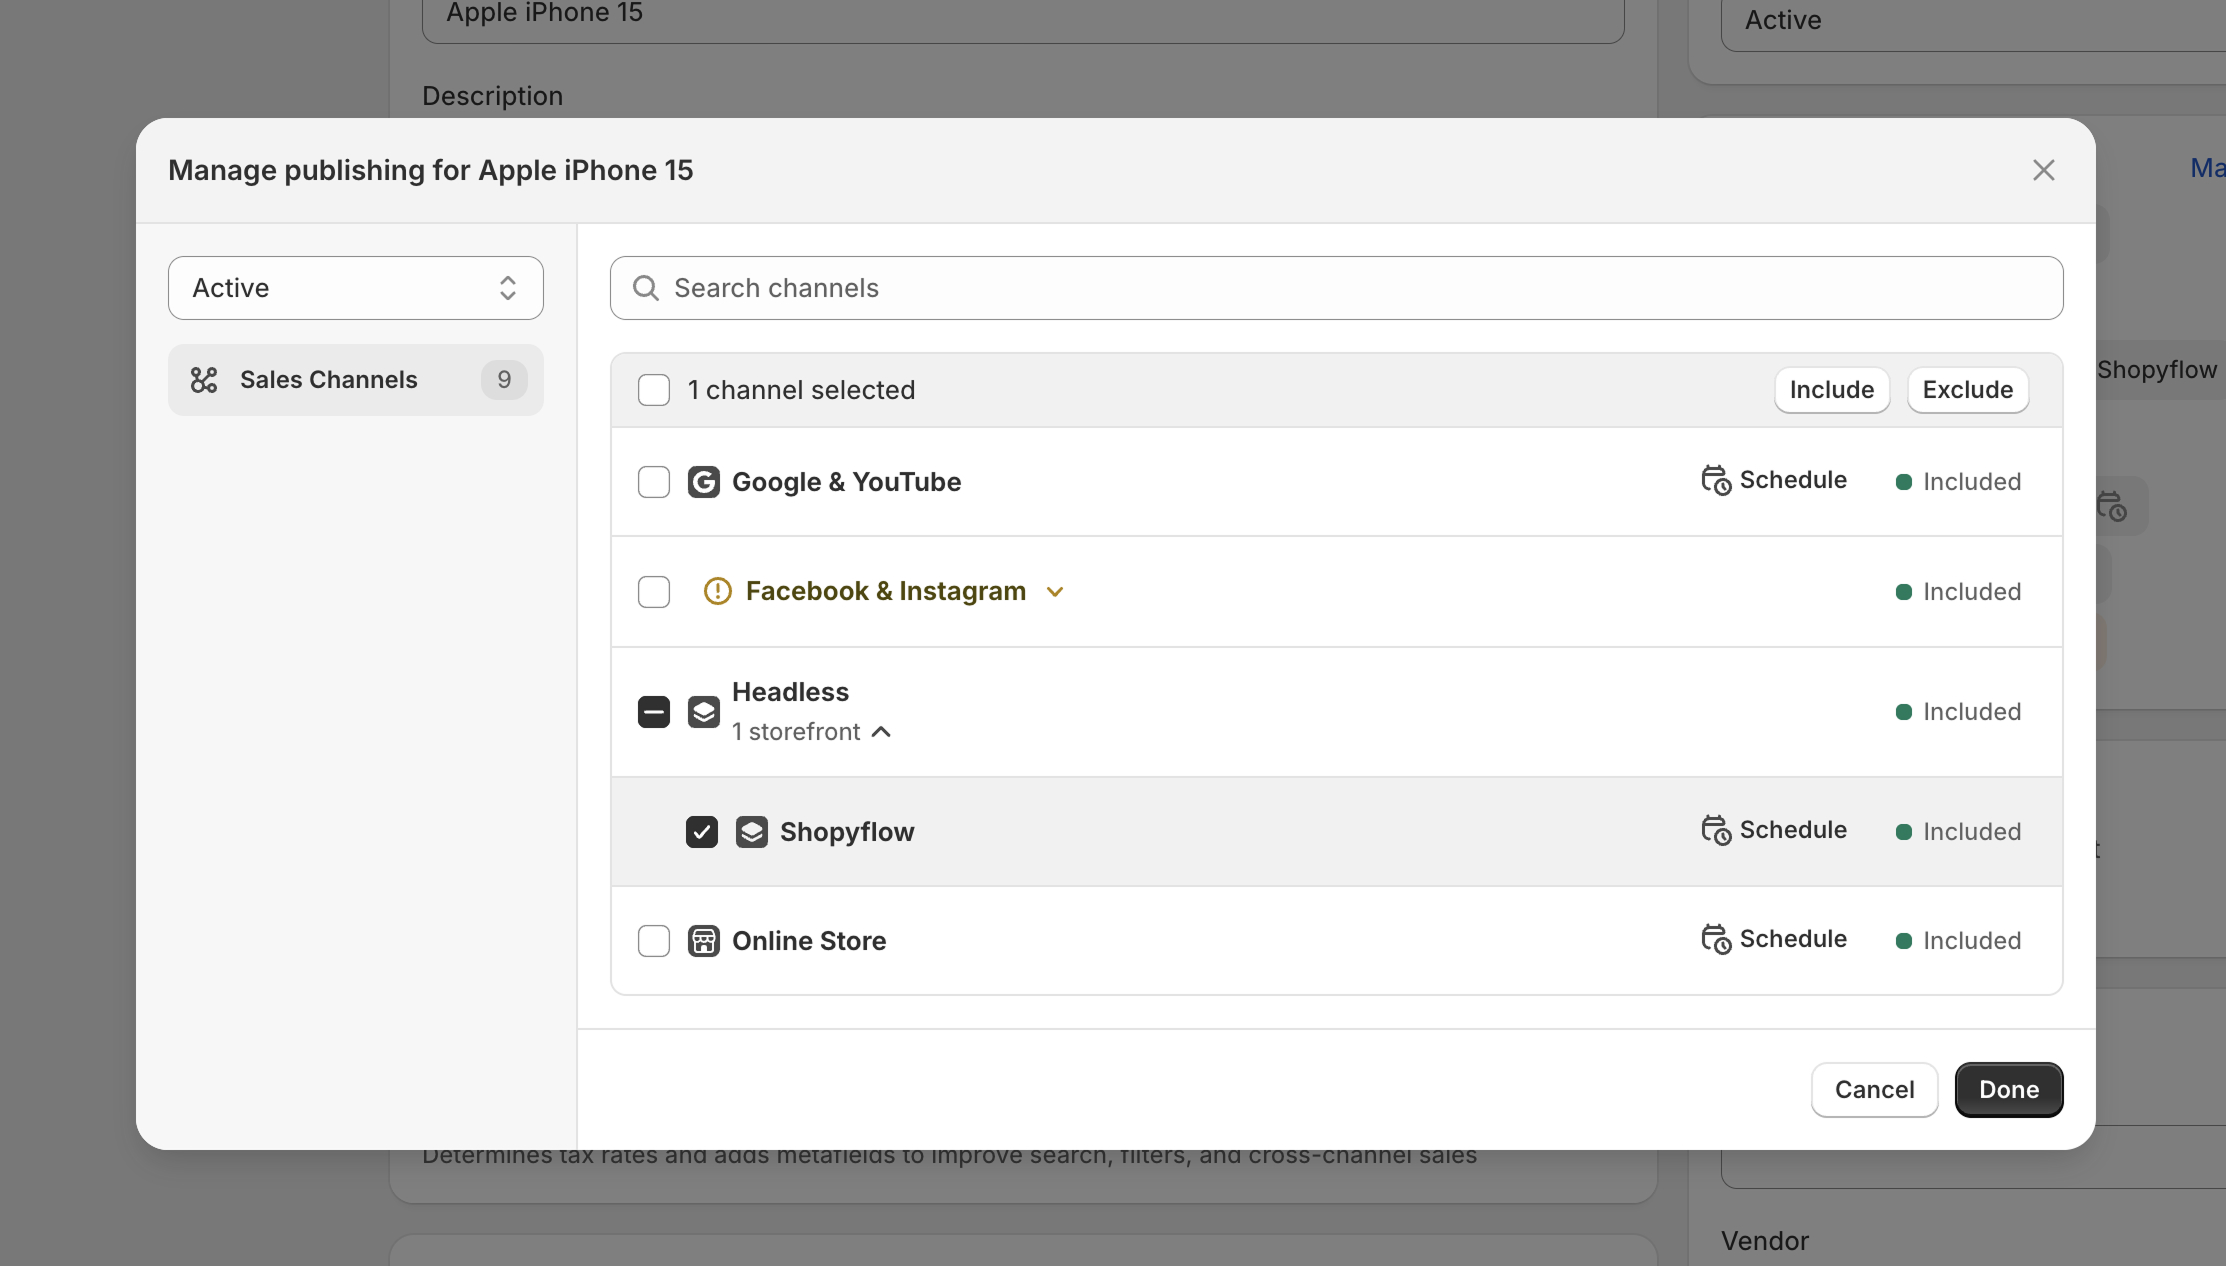
Alternatively you can include your products individually in Product Settings.
① Open a products settings in Shopify and click Publishing.
② Find your channel name under Headless. Check it and click include at the top.