Google Analytics Integration
Shopify Storefront data and cart logic is bound to your Webflow elements through Shopyflow attributes. Connecting your Webflow site to Shopify is done by adding custom attributes to your Webflow elements.
Yet, you are not required to type or edit attributes manually. Shopyflow provides you with the pre-configured components needed to create your store, as copyable Webflow elements right in Webflow designer.
All the copyable Shopyflow Components are native editable Webflow elements. There is no layout or styling limitation on any element.
In the below image hover your mouse on the hotspots to see all the required Shopyflow attributes to build a product page like this in Webflow

GA gives Shopify and other e-commerce platforms a deeper understanding of how customers interact with their sites and apps, emphasizing privacy and cross-platform tracking. It helps store owners optimize their marketing strategies by providing comprehensive insights into customer behavior and engagement.
This guide assumes you already have installed Google & Youtube app in your Shopify store. If you haven't, you can do it by following this guide.
Please mind that you should not use the legacy GA configuration in Shopify anymore. Google Analytics asks you to remove tracking scripts and use their Shopify app instead. You can read more about it here.
After adding the GA tag to your Webflow site, you can start tracking e-commerce events by enabling Google Analytics in Shopyflow Webflow App > Installation > Advanced Tracking.
Once your setup in complete, Shopyflow will start tracking the following e-commerce events:
- View Item
- Add to Cart
- Remove from Cart
- Begin Checkout (via Shopify in checkout)
- Add Payment Info (via Shopify checkout)
- Complete Purchase (via Shopify in checkout)
Tracking UTM and Other URL Parameters
By default Shopyflow works together with Google Analytics tag to help you track the following URL parameters:
- utm_source
- utm_medium
- utm_campaign
- utm_content
- utm_term
If you would like to track additional parameters, you can add them to Shopyflow config object as seen below. Add this code snippet to your site settings into the head code. If you have an existing config object, make sure to merge them.
<script>
window.shopyflowConfig = {
  additionalTrackingParams: ['utm_page', 'tname']
}
</script>
Cross-Domain Tracking
Once the GA tag is installed and Shopyflow snippet is updated, we have to make sure that the customer session is being tracked correctly between your Webflow store and the Shopify checkout. For that we have to set up cross-domain tracking. Please follow the steps below:
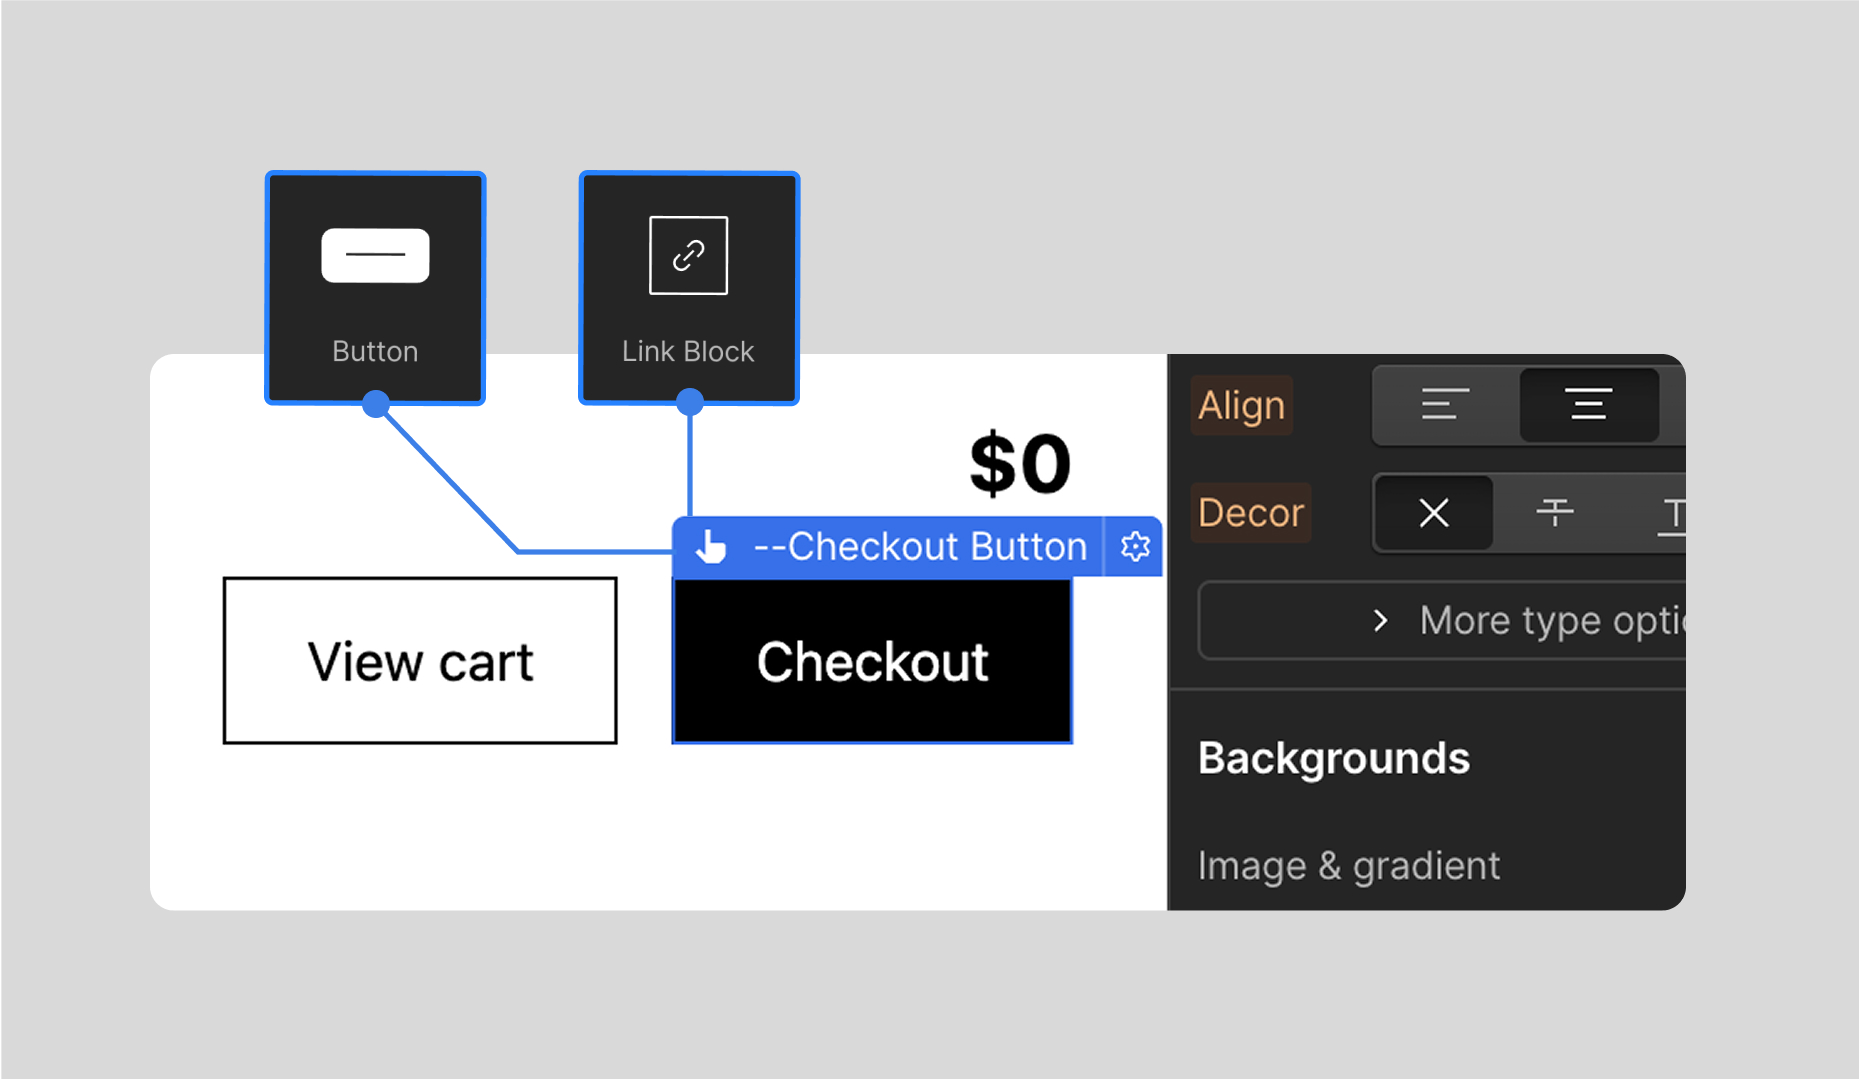
1. In Webflow, open your cart pop-up and select your checkout button. Make sure your checkout button is built with a Button or a Link Block. DO NOT USE a Div Block.
2. Watch the video below to enable tracking between your Webflow and Shopify domains.
Enabling cross-domain measurement on Google Analytics
3. If cross-doman tracking is not working as expected, you can refer to this guide or check out Google's docs to troubleshoot your setup.
Google Tag (gtag.js) vs Google Tag Manager (GTM)
Google Tag and Google Tag Manager differ in their tracking approach. If you are using the Google Tag, you don't need to do anything else. Shopyflow will send the events mentioned above directly to your GA account.
If you are using GTM, Shopyflow will push the events and the variables only to your data layer. You will have to setup your tags in your GTM account and map the data layer variables to the events manually.