Junip Integration
Shopify Storefront data and cart logic is bound to your Webflow elements through Shopyflow attributes. Connecting your Webflow site to Shopify is done by adding custom attributes to your Webflow elements.
Yet, you are not required to type or edit attributes manually. Shopyflow provides you with the pre-configured components needed to create your store, as copyable Webflow elements right in Webflow designer.
All the copyable Shopyflow Components are native editable Webflow elements. There is no layout or styling limitation on any element.
In the below image hover your mouse on the hotspots to see all the required Shopyflow attributes to build a product page like this in Webflow

Junip helps brands collect and display product reviews with photos and videos, making customer feedback more engaging and trustworthy. With features like photo and video submissions, customizable review displays, it makes collecting and showcasing customer feedback effortless.
① Go to your Webflow site settings and add the snippet below to the footer custom code. We will replace the store key next.
<!-- Replace content of the data-store-key with your own store key -->
<script type="text/javascript" async="true" src="https://widgets.juniphq.com/v1/junip_shopify.js"></script>
<span class="junip-store-key" data-store-key="ENTER YOUR STORE KEY"></span>
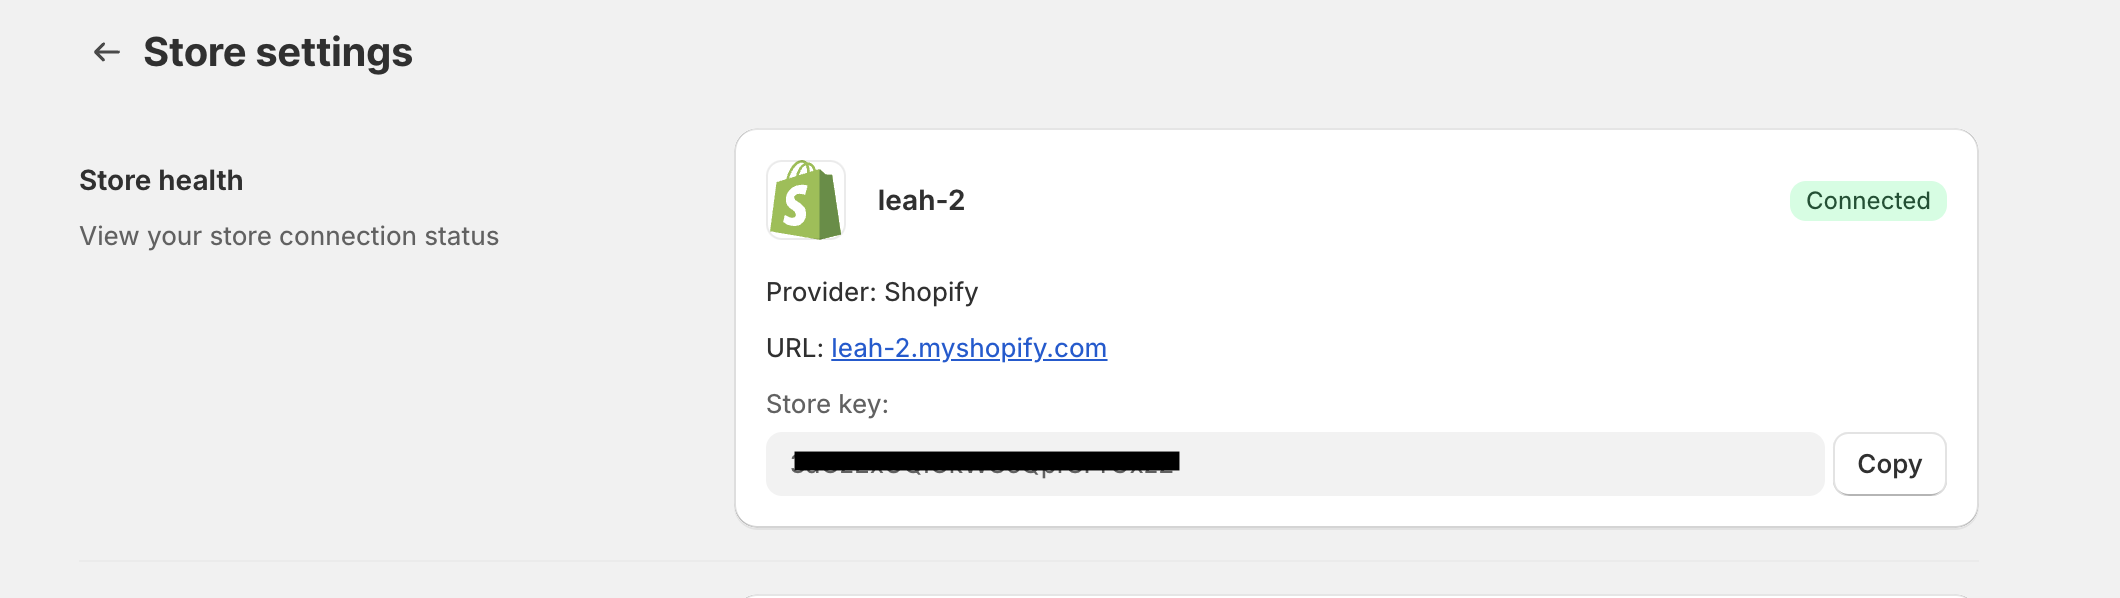
② Go to store settings in the Junip admin to get your store key. Replace the content of the data-store-key in the code snippet you just pasted, with your own store key.
③ Go to your product page settings in Webflow and add the code snippet below to the custom code section inside the <body> tag. Connect the data-product-id attribute's value to your Product ID field in the CMS or enter the ID manually. Do not remove the double quotes.
<!-- Connect the data-product-id field to the Product ID field in the CMS or enter it manually. Do not remove the double quotes. -->
<span class="junip-product-review" data-product-id="ENTER PRODUCT ID"></span>
④ Publish your site.
Take a look at the official guide of Junip for other widgets.